
As technology becomes more and more integral to education, teachers and parents agree that it’s important to find the right balance between learning to write on a device or keyboard and teaching handwriting using pencil and paper (as I know, all too well, from my 7-year-old son who often prefers to write stories using a device!).
Primary school teachers know that handwriting has so many benefits for our students and that children hand-write tasks more often than they use a device. So while the media might suggest that handwriting is not being taught enough, educators should concern themselves with how it is taught.
Research on the topic not only shows a connection between handwriting and children’s literacy development but also highlights the importance of explicitly teaching handwriting as part of a phonics program.
This blog will look at an overview of research as well as provide you with practical ideas to assist your students with handwriting and help them make the connection between it and their phonics learning.
Handwriting has many layers. It involves:
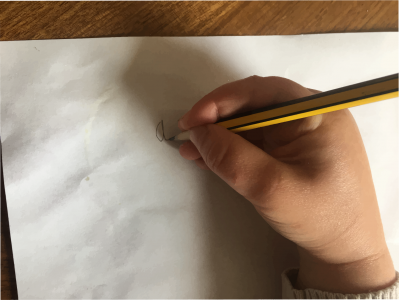
As a teacher, I saw first-hand the benefits in my students’ literacy achievements as they made the connection between letter shape and phoneme. For many students, the formation of letters helped to reinforce skills in reading and spelling – skills which are dependent on a connection between the letters and phonemes.
For example, I observed one student who used a tactile approach of tracing an indented letter shape to recall the phoneme. For this student, the formation of the letter shape made a learning connection.
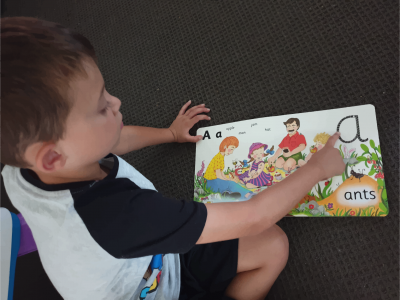
There is no doubt that handwriting has been included in a teacher’s literacy block but when I am working with a school, I ask myself: “Is it explicitly taught or simply a time-filling, incidental activity?”
As the research demonstrates, handwriting is a core phonics skill and therefore should be part of a daily instruction routine when explicitly teaching phonics. Children need to develop a strong letter-sound knowledge for reading and spelling. When handwriting is taught with intention, children use their senses and make connections between their auditory recognition, pronunciation, visual representation and formation of a letter.
An effective phonics lesson should include learning the letter sounds, identifying the letter sounds in spoken words, and using the letter sounds when blending and segmenting and letter formation. Air-writing is a useful kinaesthetic activity to engage children with letter formation in a phonics lesson.
If you are using a separate handwriting program, try and adjust it so that the order of sounds introduced in your phonics program matches the order the letter formations are taught in.
Pencil grip: If a child is writing neatly with appropriate speed and pressure, but does not have that perfect tripod grip, don’t stress or attempt to fix it if the letters are legible.
If you’re interested in further reading on handwriting, I recommend looking at the National Strategy from the UK.
Here are some practical hands-on activities that can be used in your phonics lesson.
Air writing: Children use two fingers (of the same hand, of course) to form the letter in the air. Yes, two fingers, as this will stretch the muscles in your arm as you write the letter in the air. Try it!
Don’t forget to encourage the children to visually track their fingers while air writing the letter symbol (e.g. “Follow them with your eyes.”). This allows the visual image of the letter shape to be formed as a mental image as well as a connection to the sound for that letter.
Gel bags: One of my favourites! The secret is in the quantity of hair gel used. Use a lunch size snap-lock bag for this activity. Place 2-3 tablespoons of hair gel into the bag. Snap lock the bag making sure that there are no air pockets in the bag. Be as creative as you feel: add food colouring or glitter to the gel.
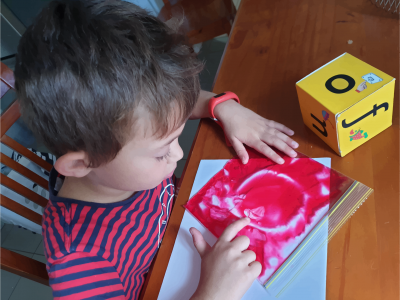
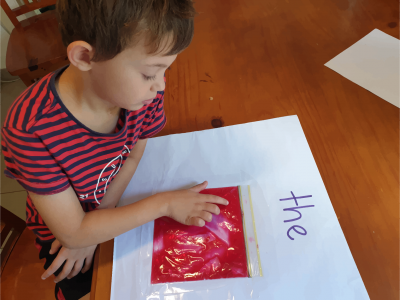
Children use their fingers to form letters on the bag. The consistency of the gel enables the children to feel and see the letter shape that was formed.
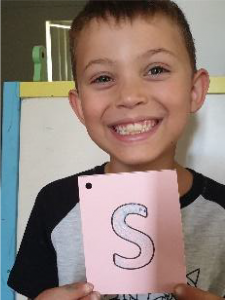
Salt letter: This activity is an adaptation of sandpaper letters, however, the use of table salt is just as effective. Using a letter sound outline on a flashcard, the children trace the letter sound with glue. They place this flashcard facing down into a tray of salt. Allow the flashcard to dry.
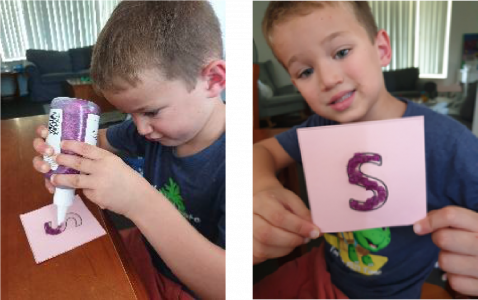 A student makes a raised gel glue letter.
This activity promotes the formation of a letter sound using a multi-sensory approach. The children can feel the lines/curves of the letter and develop a sense of orientation when forming that letter. Variations: add food colouring to the salt, use a gel glue instead of salt.
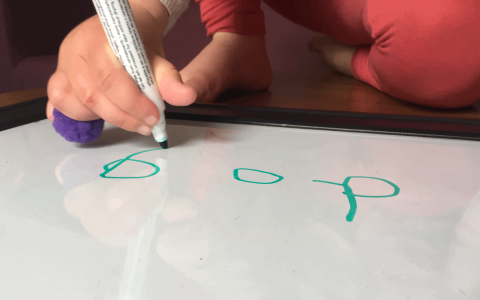
Pom-pom challenge: Another one of my favourites to encourage pencil grip. Children hold a small pom-pom between the pinky and ring fingers of their writing hand while, with the other three fingers, use the tripod grip to hold a pen. They write letter sounds on a whiteboard without allowing the pom-pom to fall from between their last two fingers. The kids love it!
Bubble wrap: Draw a letter sound on the bubble wrap. Have the child pop the bubble using their tripod fingers (make sure they are the large bubbles).
Research shows clearly how teaching handwriting isn’t an isolated classroom activity, but rather one that goes hand-in-hand with learning to read and spell with phonics. If this blog post has inspired some ideas of how to teach handwriting in tandem with your school’s phonics program, feel free to share them in the comments.